INSTALLATION GUIDE · LARGE ROOFLIGHTS
Rooflight Installation Using a Glass Vacuum and Crane
A practical look at how a large circular rooflight was moved from manufacture to its final roof position using mechanical lifting equipment.
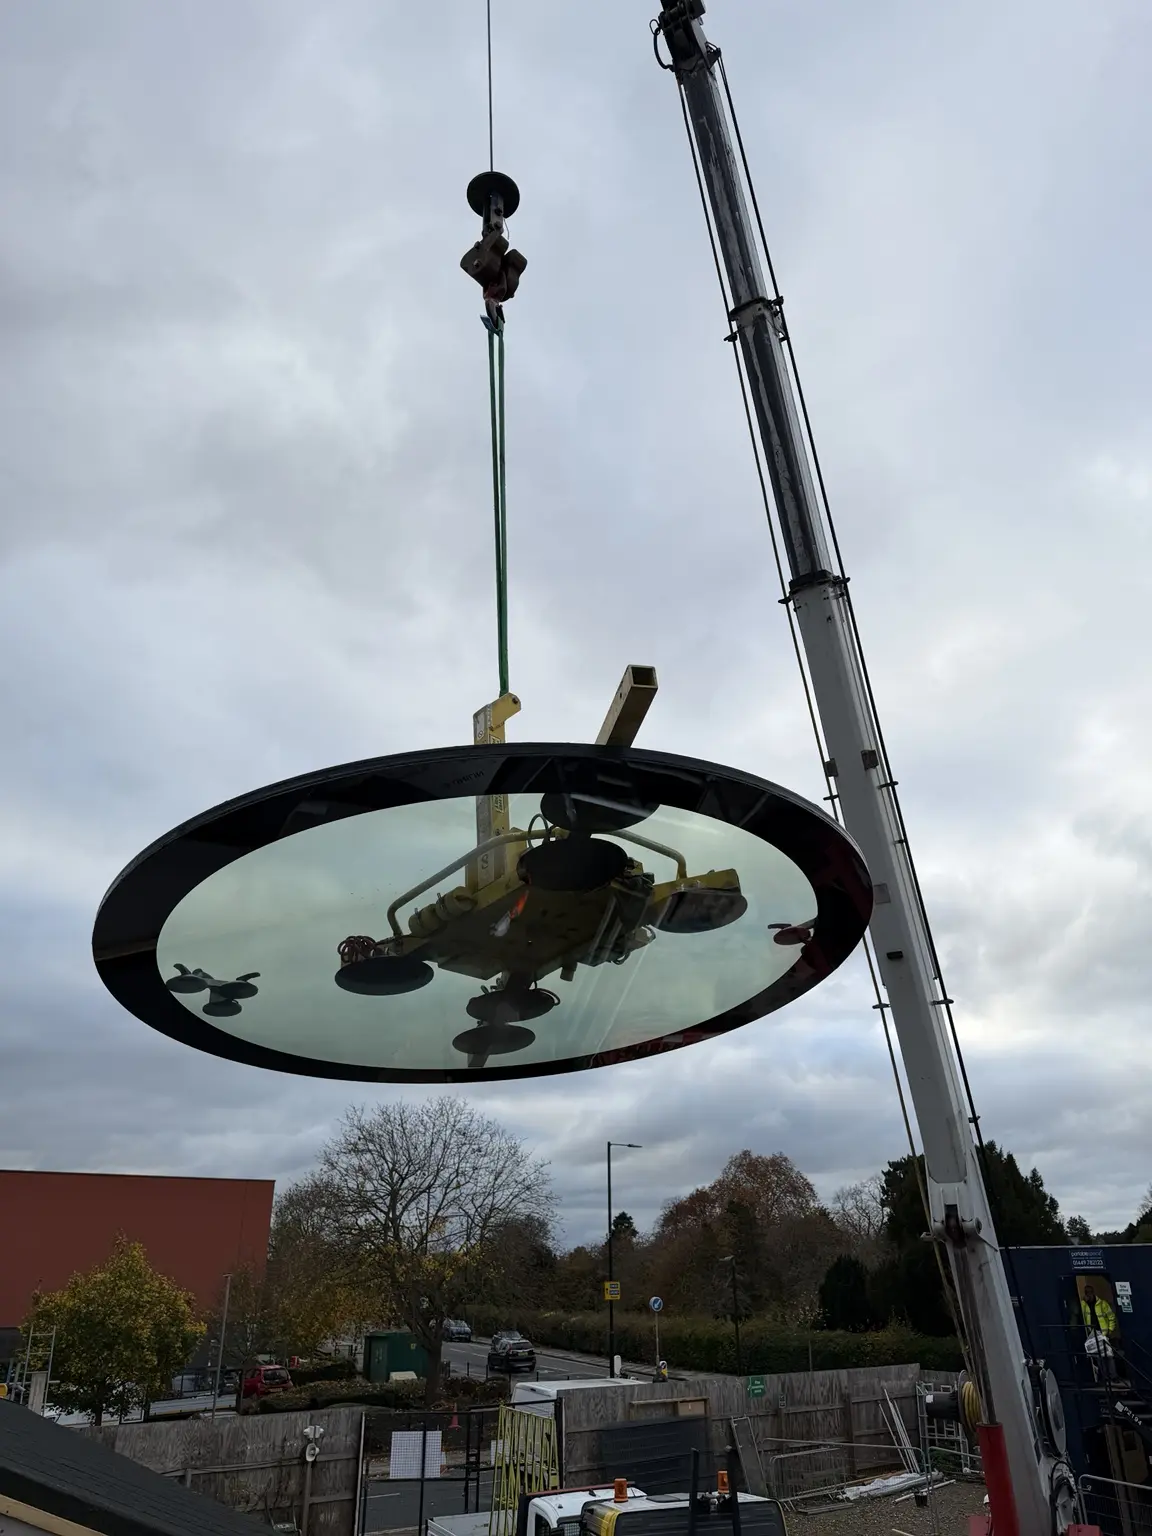
Large rooflights are heavy, fragile and difficult to control by hand. This circular unit was installed using a crane and a multi-pad glass vacuum lifter, allowing the glazing team to support, rotate and lower it onto the prepared frame in a controlled sequence.
The lifting plan starts before the rooflight arrives
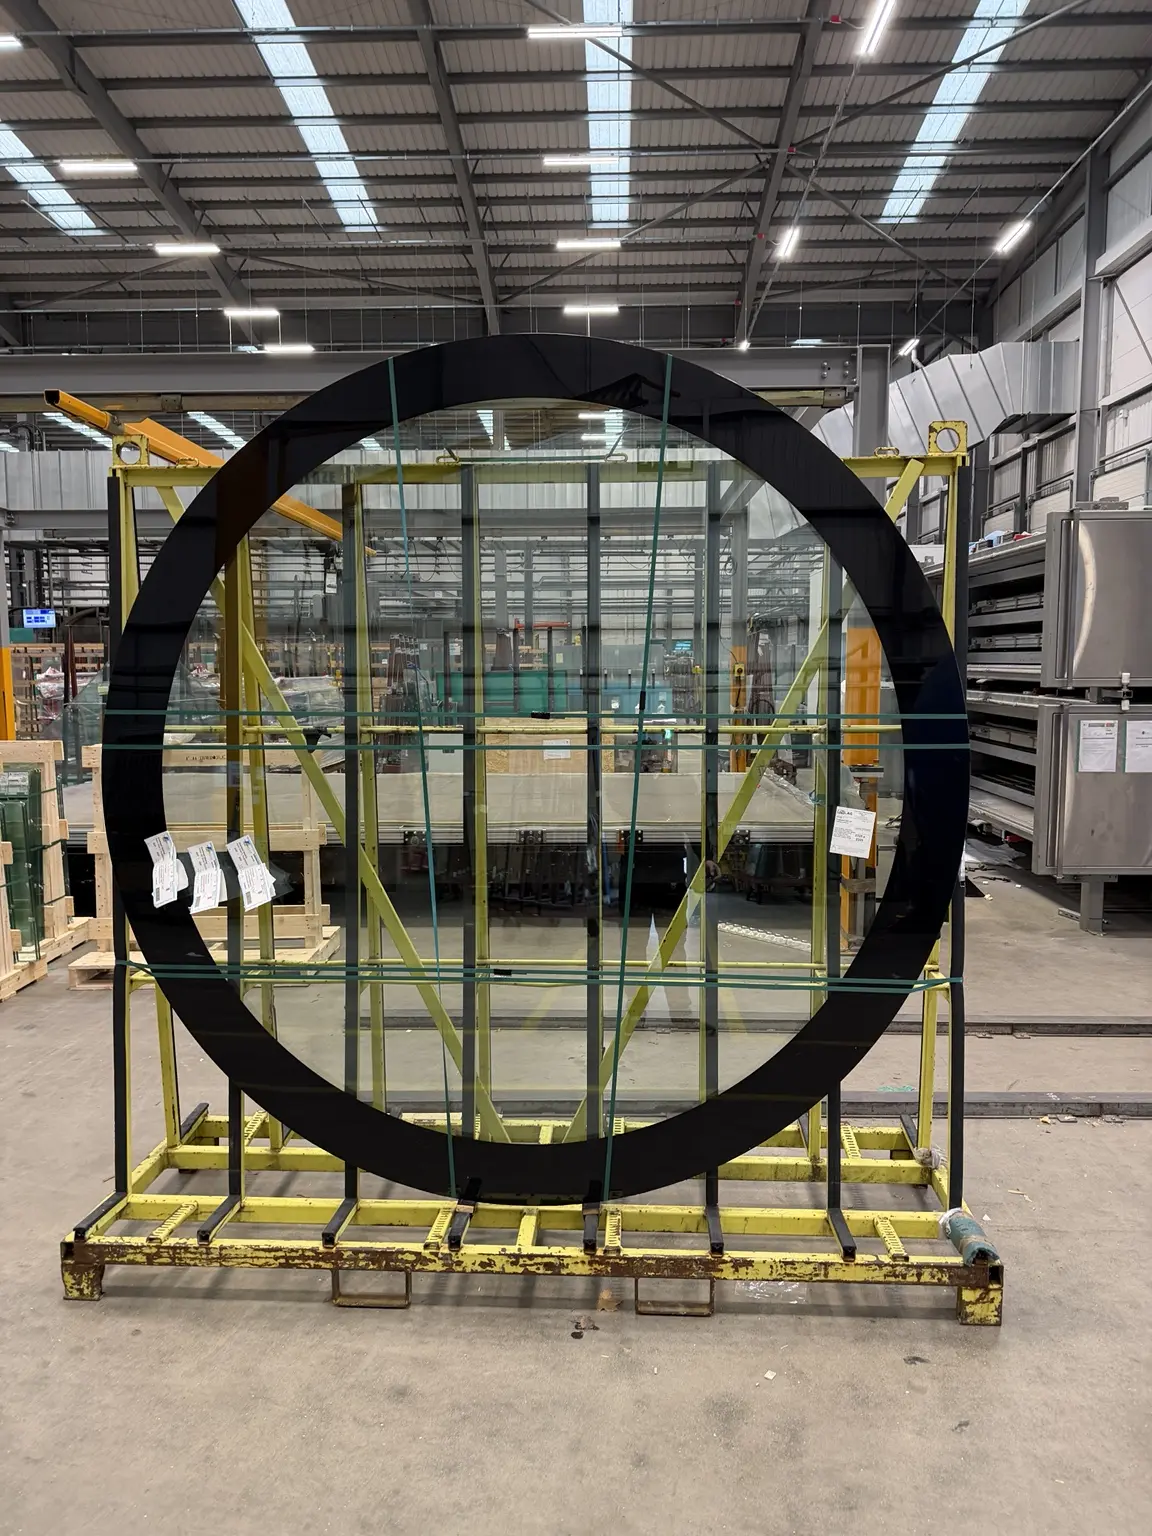
Safe lifting begins with confirmed glass dimensions, total unit weight, centre of gravity and the lifting points available on site. The crane capacity must be checked at the required working radius, not only at the boom’s shortest reach.
Weather, road access, scaffolding, exclusion zones and communication between the crane operator, banksman and glazing team also need to be planned.
The roof opening and frame must be ready
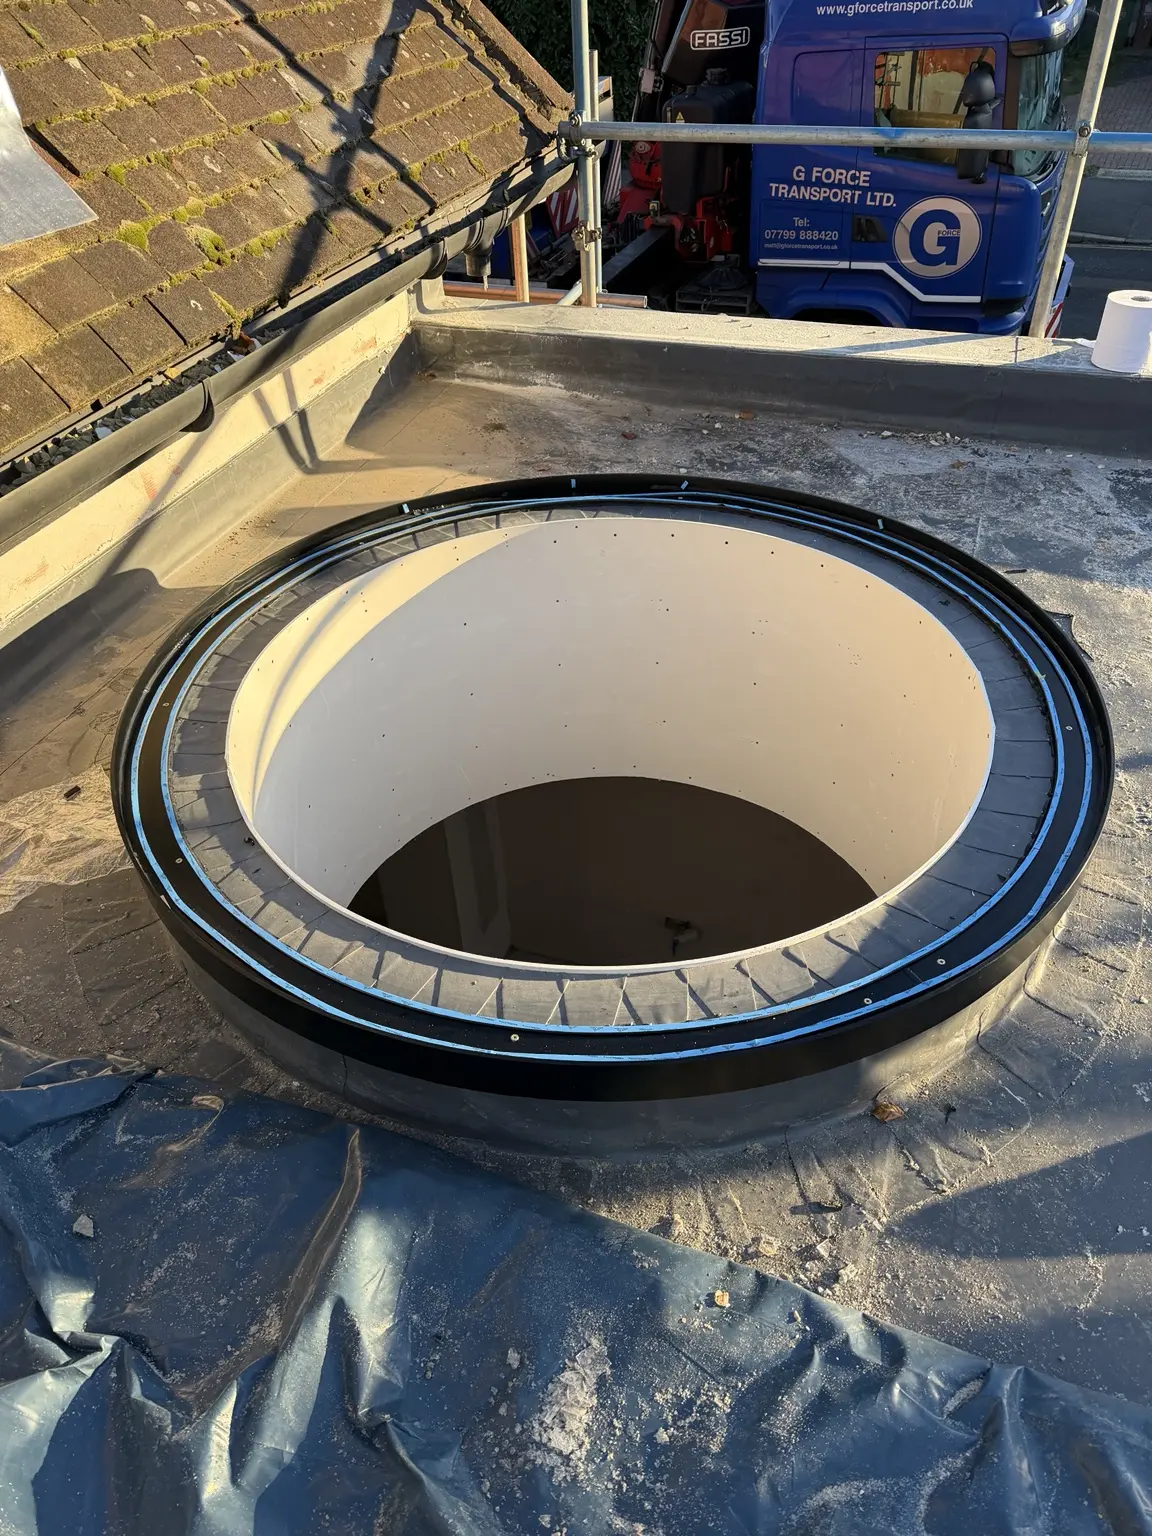
A crane should not be waiting while the kerb, waterproofing or frame is corrected. Before lifting, the opening is checked for size, level, fixing, cleanliness and the agreed weathering detail.
The circular frame was positioned and sealed to the prepared upstand before the glazed unit was brought over the roof.
How the glass vacuum lifter controls the unit
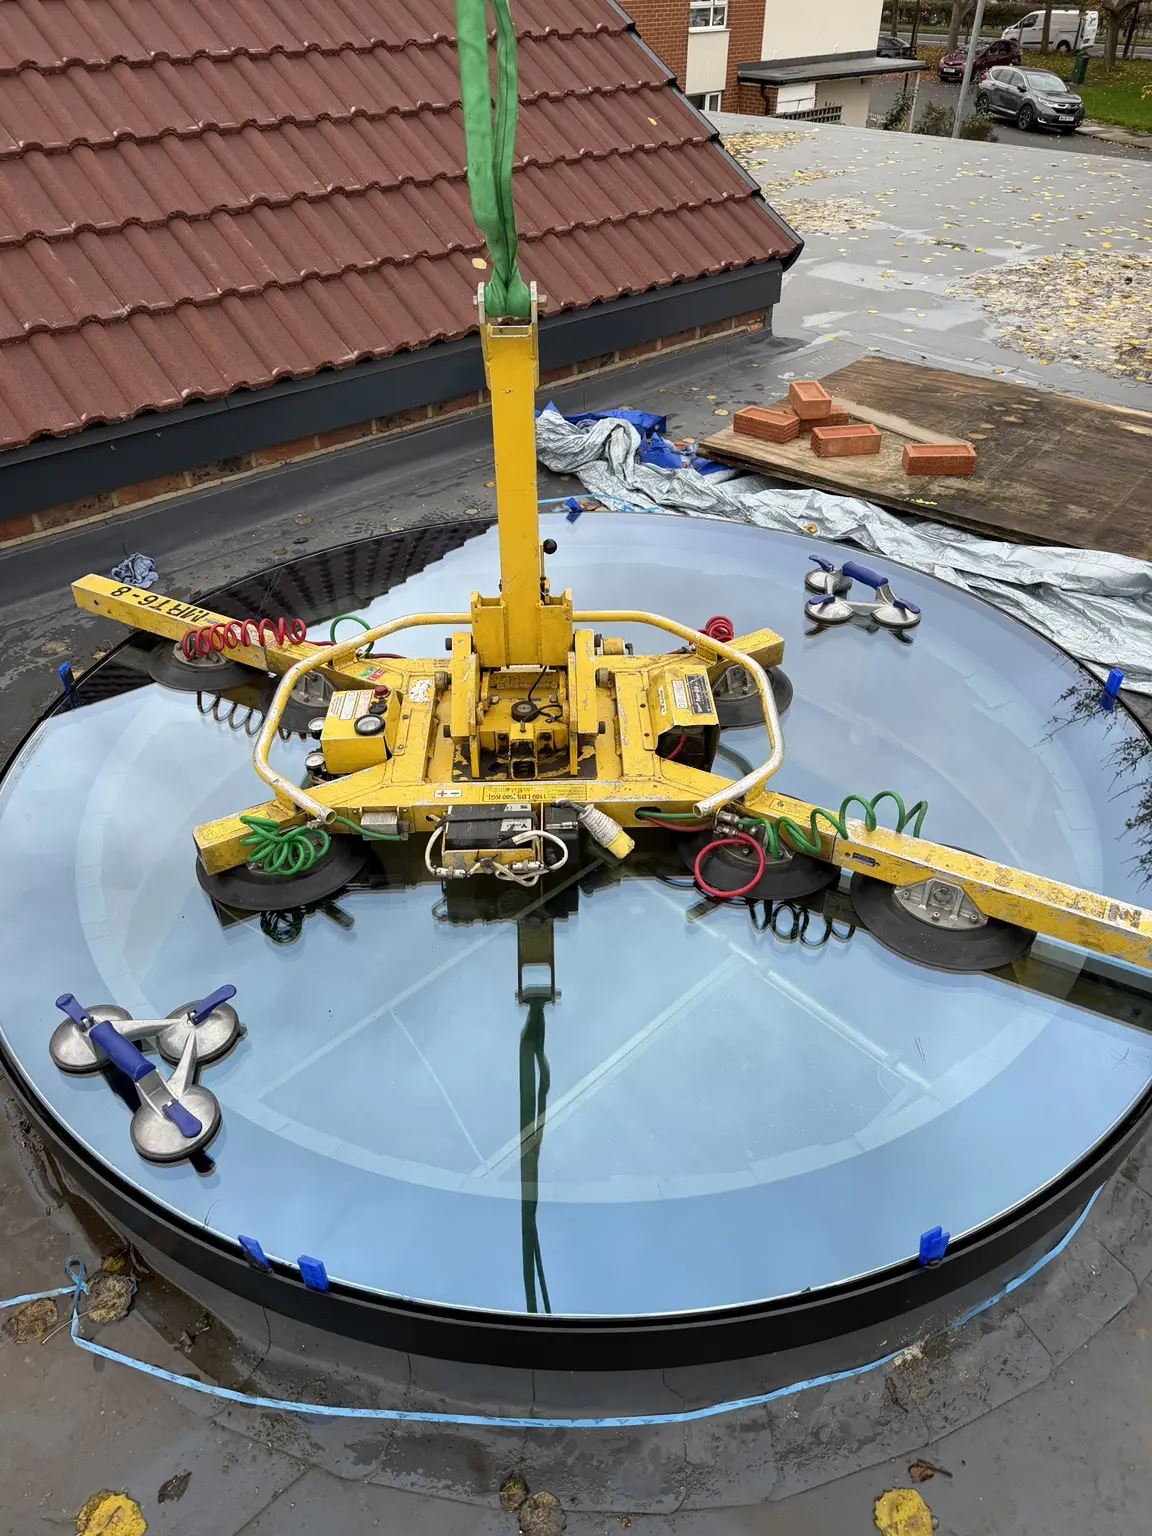
The vacuum lifter uses multiple suction pads to spread lifting forces across the glass surface. It must be selected for the unit weight, glass size, surface condition and required orientation.
A suitable lifter helps the team rotate the glass from transport position, hold it securely while airborne and make small adjustments as it approaches the frame. Vacuum equipment does not remove the need for secondary controls, competent operators or a managed exclusion zone.
Crane reach and site access
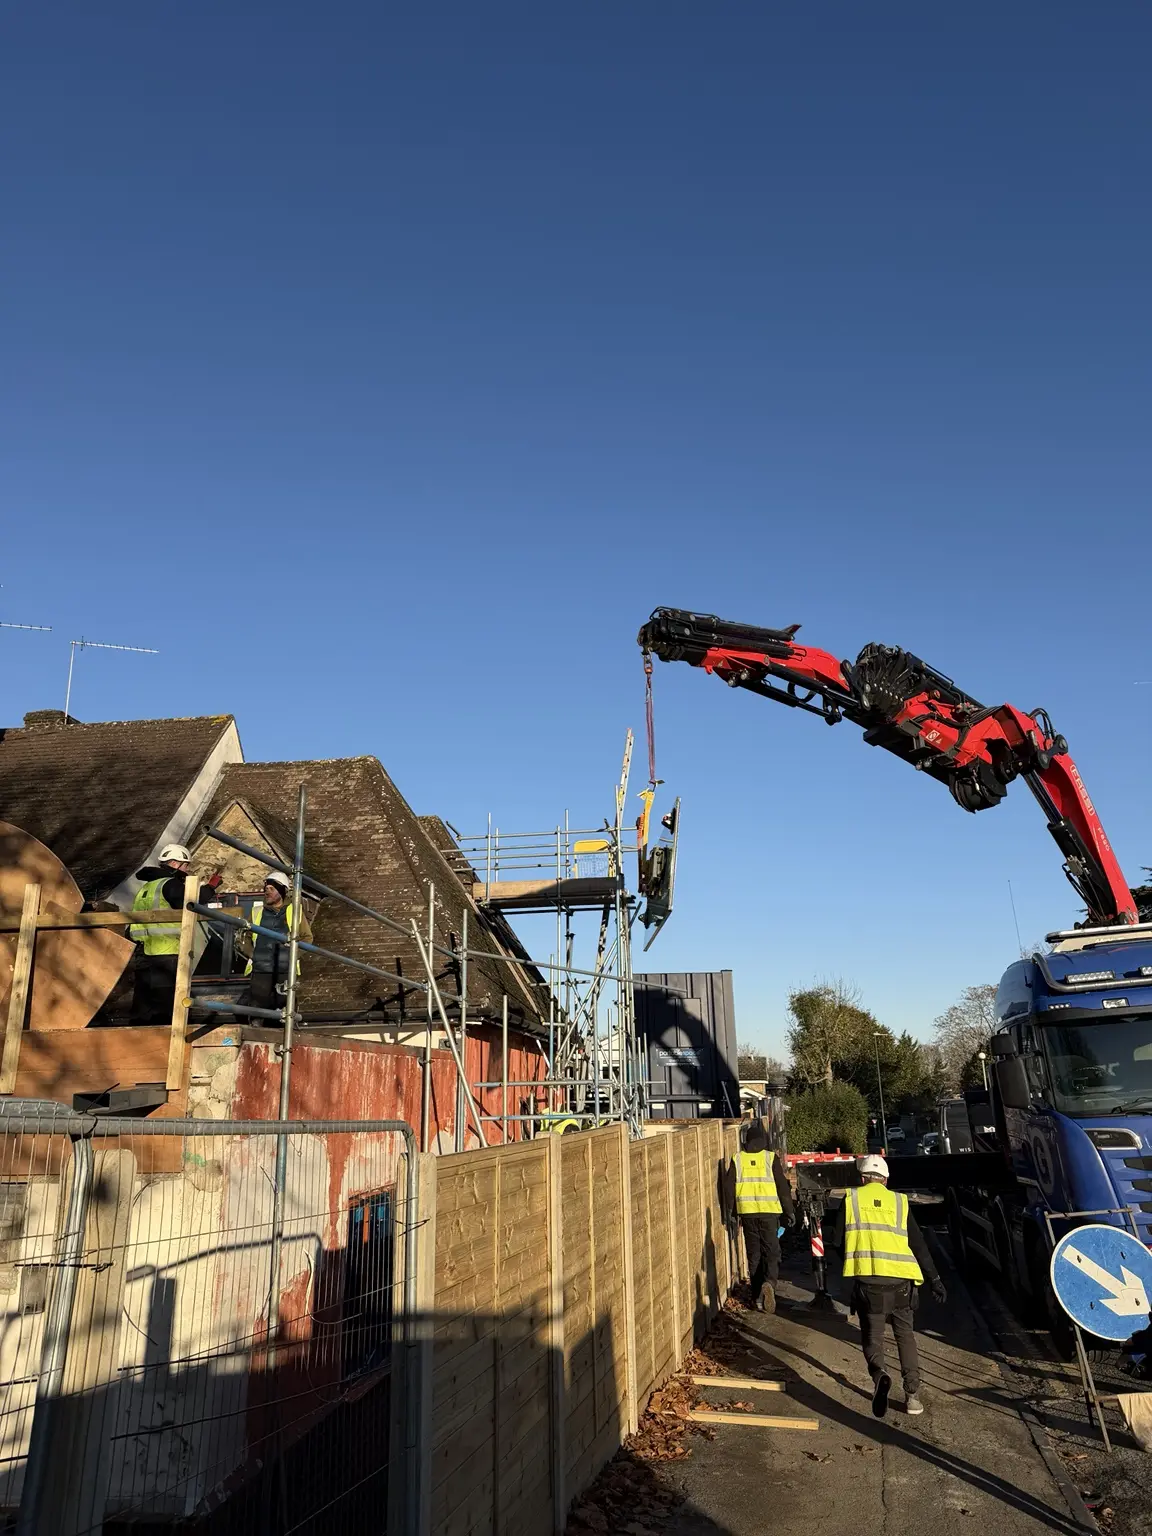
The crane or lorry-mounted loader must be able to reach the roof opening with enough capacity remaining for the glass and lifting equipment. Outrigger positions, road restrictions, overhead obstructions and scaffold clearances can determine the lifting method.
On constrained sites, the installation team should confirm the lifting route and landing area before delivery day.
Lowering and aligning the rooflight
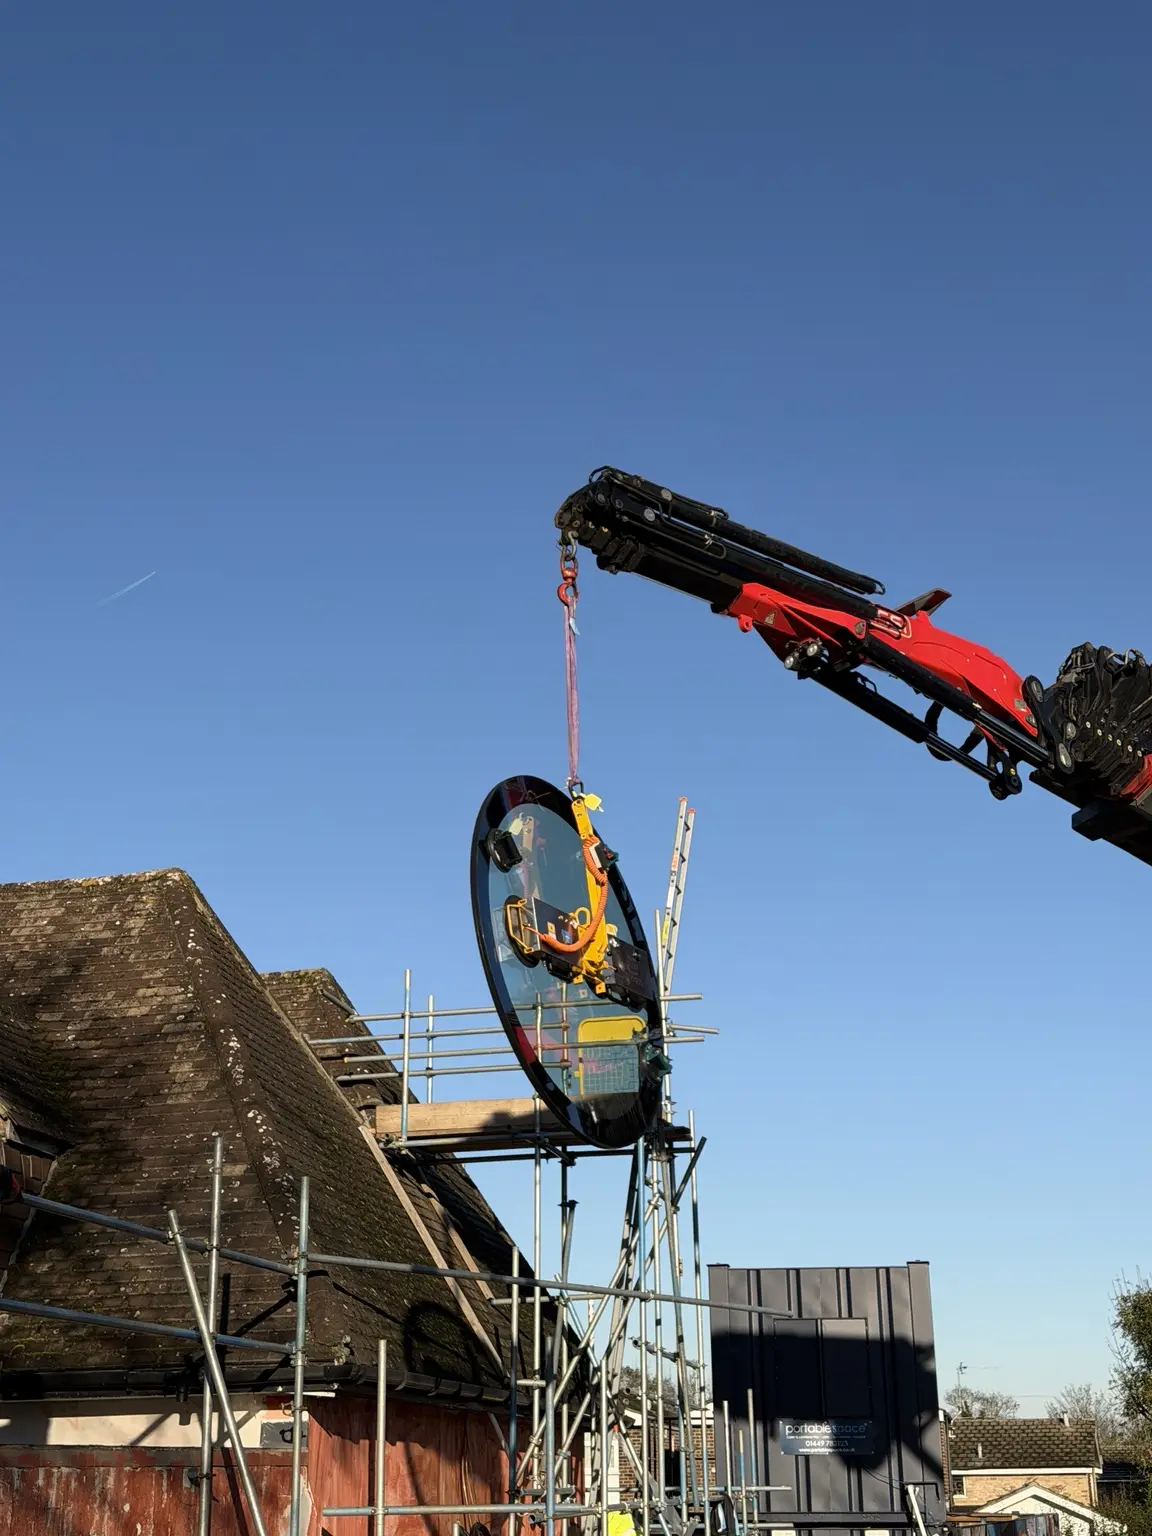
As the glass reaches roof level, installers guide it without placing themselves beneath the suspended load. Tag lines and controlled rotation can help prevent the unit moving in the wind.
The rooflight is lowered onto the prepared packers and seals, checked for equal cover and alignment, then secured and weather sealed in the approved sequence.
The finished opening
Once installed, the lifting equipment is released only after the glass is fully supported and stable. Final checks cover seals, drainage, perimeter cover, frame fixings and protection of the completed roof.
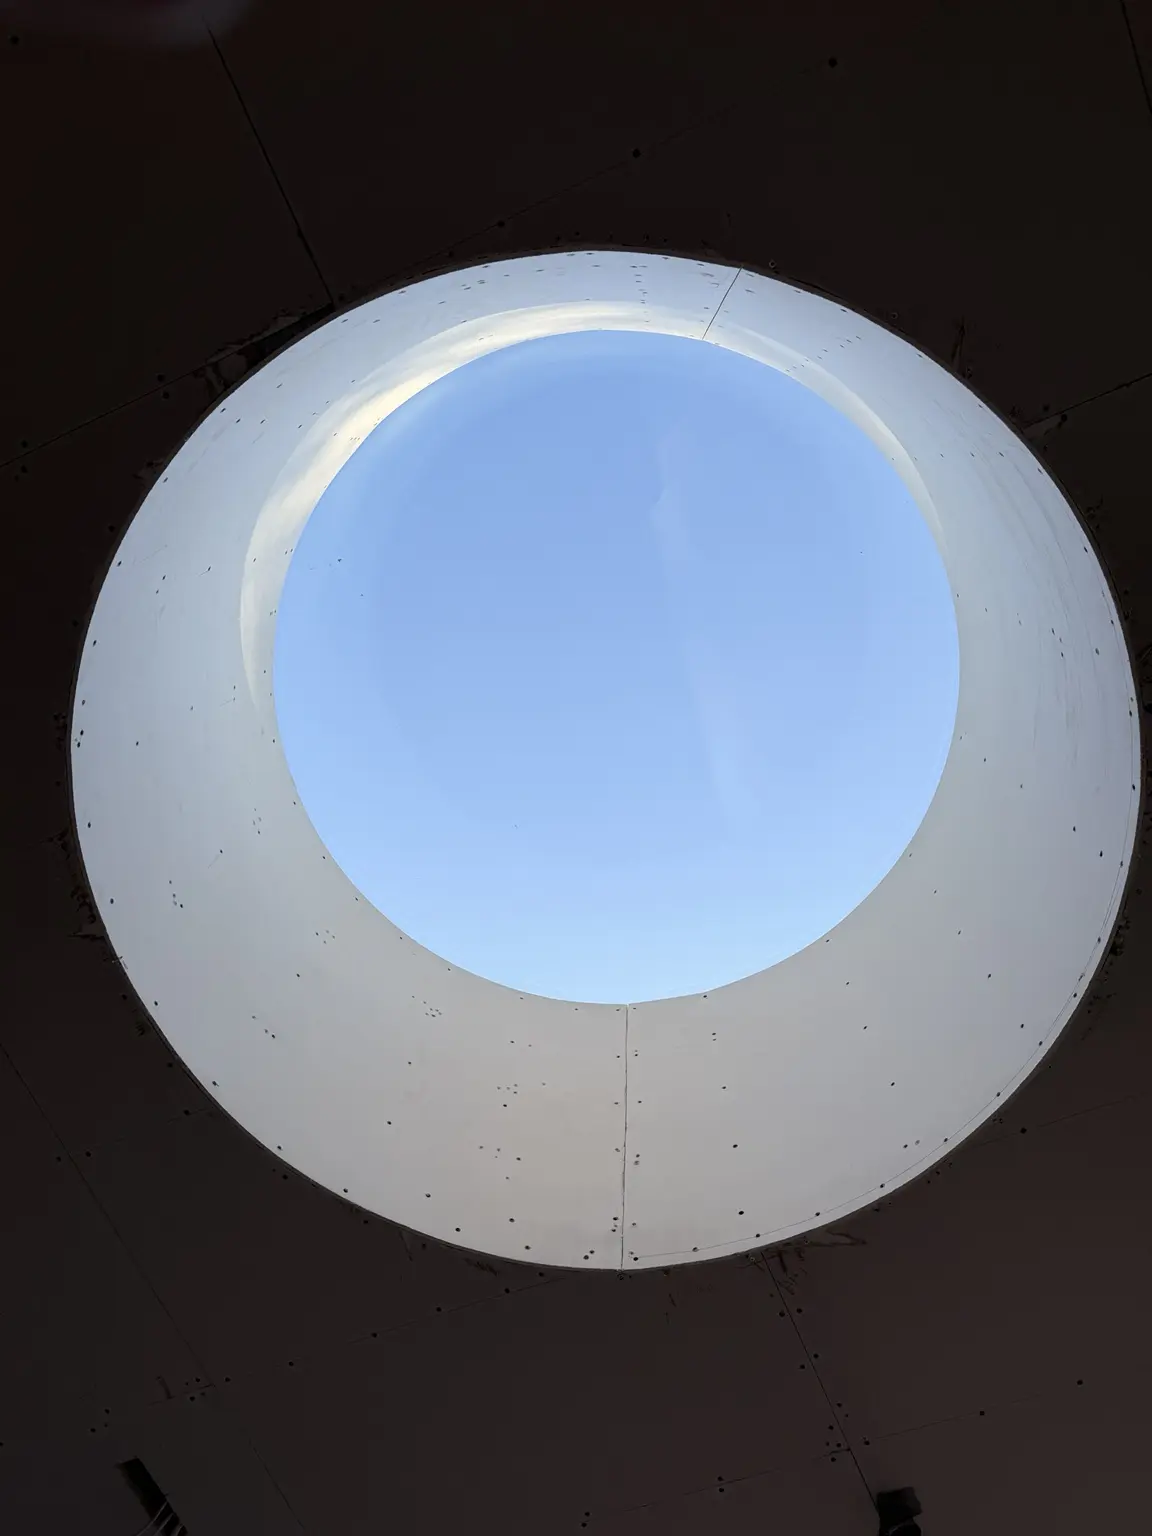
From below, the circular rooflight becomes a simple opening to the sky. The complicated lifting work is no longer visible, but careful planning is what makes that clean result possible.